Your model just made a prediction. It denied a loan. It flagged a scan. It priced a house. Now someone asks you a simple question: why? If you freeze at that question, you are not alone. This is exactly where SHAP and LIME for model interpretability step in, and this article walks you through both tools from the ground up.
This post is the companion guide to Episode 83 of the Intelevo YouTube channel. Watch the full video first if you prefer visuals, then come back here to review the code and take notes at your own pace.
Why Model Interpretability Matters
Every machine learning model makes a trade. It swaps human understanding for predictive power. A linear regression model is easy to read but often too simple for real-world data. A gradient boosting model or a neural network predicts brilliantly, yet it hides its reasoning inside thousands of internal weights.
This trade creates a real problem. Accuracy tells you whether a model is right, on average, across many examples. However, accuracy never tells you why the model made one specific decision for one specific case. A bank needs that “why” for a rejected loan applicant. A hospital needs it before trusting a risk score. A product team needs it before shipping a model that might have learned the wrong lesson from biased data.
That gap between “accurate” and “explainable” is the entire reason SHAP and LIME exist. Neither tool changes your model. Instead, each one sits beside your trained model and translates its decisions into language a human can actually use.
The Big Idea Behind SHAP and LIME
Think of your model as a brilliant but silent expert. It makes excellent calls, yet it never explains its reasoning out loud. SHAP and LIME act as translators. They step in only after the model has already produced a prediction, and they never alter that prediction.
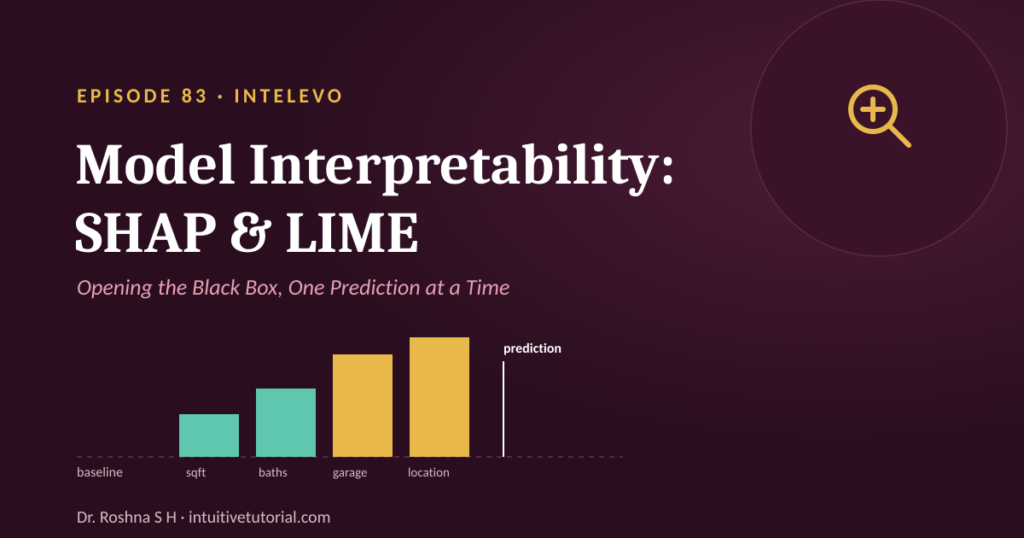
Both tools answer the same underlying question: which features pushed this one prediction up, which features pulled it down, and by how much? Every prediction starts from a baseline, which represents the average outcome if you knew nothing else about the specific case. From there, each feature nudges the result higher or lower. Add every nudge together, and you land exactly on the model’s final number. Nothing gets left unexplained.
This is a critical distinction from earlier interpretability techniques like PCA or LDA. Those methods reshape your entire feature set before training. SHAP and LIME, on the other hand, explain a model that is already trained and already making predictions. You do not retrain anything. You simply add a lens.
Meet the Example: One Prediction, Two Explanations
To keep things concrete, imagine the familiar housing dataset from earlier episodes. It includes square footage, bedrooms, bathrooms, garage size, and neighborhood. This time, you train a model to predict price.
Now zoom into one house: House #7. The model predicts a price well above the neighborhood average. Why? That single question sets up the rest of this article. SHAP and LIME will each answer it, using two very different strategies.
LIME Explained: The Food Critic Analogy
Picture LIME as a food critic who reviews one dish, not the entire restaurant menu. The critic does not try to understand every recipe in the kitchen. Instead, the critic focuses only on what landed on the plate today.
Here is how LIME actually works, broken into three simple moves.
First, LIME nudges the inputs. It creates many slightly altered versions of House #7. Maybe one version has fifty more square feet. Another has one fewer bathroom. These tweaks stay close to the original house, since LIME only cares about the neighborhood right around this one prediction.
Next, LIME watches how the model reacts. It feeds every nudged version through your real, trained model and records each new prediction. This step reveals how sensitive the prediction is to small changes in each feature.
Finally, LIME fits a simple, readable model to those reactions. Usually, this is nothing more than a straight line. Because this simple model only needs to be accurate in one tiny neighborhood, it does not need to capture the full complexity of your real model. Its coefficients become your explanation. A steep, positive coefficient means that feature strongly pushed the prediction up in this local region.
The elegance of LIME lies in one guarantee: it never looks inside your actual model. It only needs model.predict. As a result, LIME works with literally any model you can call predict on, from decision trees to deep neural networks.
SHAP Explained: Splitting the Bill Fairly
Now picture SHAP as the friend at dinner who calculates exactly what everyone owes when the group orders unevenly. Some people ordered appetizers. Others skipped dessert. SHAP figures out each person’s fair share by checking every possible order in which people could have joined the table.
Here, features play the role of dinner guests, and the final prediction plays the role of the total bill. SHAP considers every possible combination in which features could join the prediction, one at a time. For each combination, it measures the marginal contribution: how much the prediction shifts the moment one specific feature joins the group.
Then SHAP averages that marginal contribution across every possible ordering. This average is called the Shapley value, and it carries a powerful guarantee. It is the only way to split credit so that no feature can claim it deserved more.
Unlike LIME, SHAP does not rely on a local approximation built from random nudges. It computes contributions using a mathematically grounded method borrowed from game theory. This makes SHAP values consistent: the same feature, in the same context, always earns the same credit.
LIME in Python: Step-by-Step
Time to see LIME in action. Below is the core code for explaining House #7’s price prediction.
from lime.lime_tabular import LimeTabularExplainer

explainer = LimeTabularExplainer(
    X_train.values,
    feature_names=features,
    mode="regression")

exp = explainer.explain_instance(
    X_test.iloc[7], model.predict)
exp.show_in_notebook()
Let’s break this down line by line.
First, you import LimeTabularExplainer from the lime package. This class handles tabular data, which fits perfectly with our housing dataset.
Next, you build the explainer itself. You pass in your training data as raw values, your feature names for readable output, and the mode. Since price is a continuous number, you set mode to “regression.” If you were predicting a category instead, like “approved” or “denied,” you would switch this to “classification.”
Then comes the key step: explain_instance. This method zooms in on House #7, referenced by its index position in the test set, and it requires only model.predict as an argument. This single requirement is what makes LIME model-agnostic. It never inspects your model’s internal structure.
Finally, show_in_notebook renders a clean bar chart showing which features pushed the price up and which pulled it down, specifically for this one house.
One detail deserves emphasis. The n_components cap and local nature of LIME mean this explanation is only valid near House #7’s specific feature values. Move to a very different house, and you need a fresh explanation. That local scope is a feature, not a limitation. It keeps the explanation simple and honest.
SHAP in Python: Step-by-Step
Now compare that with SHAP’s approach to the exact same prediction.
import shap

explainer = shap.Explainer(model)
shap_values = explainer(X_test)

shap.plots.waterfall(
    shap_values[7])
This code is shorter, but it does more work under the hood.
First, you import the shap library. Then, you wrap your already-trained model inside shap.Explainer. This single line adapts to your model type automatically, whether it is a tree-based model or something else.
Next, you call that explainer on your entire test set at once. This produces shap_values, which holds a fair, consistent breakdown for every prediction in your dataset, not just House #7. This is a major practical advantage over LIME, since you compute everything once and inspect any row afterward.
Finally, shap.plots.waterfall renders the explanation for House #7 specifically, using index 7. The waterfall chart is wonderfully literal. It starts at the baseline price, the value you would expect with zero extra information. Then, each bar represents one feature, walking the prediction up or down step by step. The chart ends exactly at the model’s real predicted price for that house. Every SHAP value adds up perfectly, with nothing left over.
The Math Behind SHAP: Shapley Values in Plain English
You do not need calculus to use SHAP, but understanding the core formula builds real intuition. The idea traces back to economist Lloyd Shapley’s 1953 work in game theory, decades before anyone applied it to machine learning.
Here is the concept, broken into three pieces.
First, consider a coalition. This is simply a subset of features already “in the room” before your feature of interest joins them. For example, a coalition might include square footage and bedrooms, before bathrooms enters the picture.
Next, measure the marginal gain. This captures how much the prediction changes the exact moment your feature joins that coalition. If adding “bathrooms” to a coalition raises the predicted price by ten thousand dollars, that jump is the marginal gain for this particular ordering.
Finally, average that marginal gain across every possible order the feature could have joined in. This average is written as phi-sub-i, and it represents that feature’s fair share of the total prediction. Because SHAP averages over every possible order, no single ordering can bias the result. That is precisely what makes the split fair.
SHAP vs LIME: Which Tool Should You Use?
Both tools solve the same problem, yet they differ in three practical ways.
Speed. LIME approximates quickly, since it only samples a small neighborhood around one prediction. SHAP is more thorough, which often makes it heavier to compute, especially across large datasets with many features.
Consistency. SHAP wins here decisively. Its Shapley values carry mathematical guarantees of consistency and fairness. LIME’s local linear fit, in contrast, can shift slightly between runs, since it depends on randomly sampled nudges.
Best use case. Reach for LIME when you need a fast first look at a single prediction, perhaps during early debugging. Reach for SHAP when you need trustworthy, comparable explanations across many predictions, especially for regulators, auditors, or stakeholders who expect consistency.
In practice, many teams use both. They explore quickly with LIME, then confirm and report with SHAP.
Common Mistakes to Avoid
Even powerful tools can mislead you if you use them carelessly. Keep these three habits in mind.
First, never trust a single LIME run in isolation. Because LIME fits only a local neighborhood using randomly sampled points, results can wobble slightly between runs. If the stakes are high, run it a few times and check for consistency.
Second, do not confuse correlation with causation. A feature can show up as “important” simply because it correlates with the true driver, not because it actually causes the outcome. Always pair these explanations with domain knowledge.
Third, remember that both tools assume features vary independently. When two features are tightly linked, like square footage and bedroom count, the credit split between them can blur. Neither tool magically untangles genuine multicollinearity.
Real-World Applications
These are not academic exercises. Companies use SHAP and LIME for model interpretability across high-stakes domains every day.
In credit and lending, these tools explain exactly why a loan application received its score. This matters enormously, both for regulators who demand transparency and for applicants who deserve an answer.
In healthcare, clinicians use these explanations to see which symptoms and readings actually drove a model’s risk flag. This builds trust before a diagnosis-support tool ever reaches a patient.
In general model development, teams use SHAP and LIME as debugging tools. They surface cases where a model leans on a feature it should not, catching mistakes before they ship to production and cause real harm.
Key Takeaways
Let’s bring everything together into one clear summary.
LIME zooms in and fits a small, honest model just around one prediction. This local approximation is fast and intuitive, though it can shift slightly between runs.
SHAP fairly splits credit across features using every possible joining order, producing Shapley values. Every SHAP value adds up exactly to the model’s prediction, so nothing stays unexplained.
Neither tool changes your underlying model. Each one only translates a decision the model already made. That translation is the entire value they add.
If you remember one thing from this guide, remember this: SHAP and LIME for model interpretability turn silent predictions into plain language. That single shift changes how teams debug models, satisfy regulators, and build genuine trust with the people affected by machine learning decisions.
What’s Next: Handling High-Dimensional Data
SHAP and LIME explained models built on a handful of features. Real-world data, however, often has hundreds of features, sometimes thousands. Episode 84 tackles that challenge directly: Handling High-Dimensional Data. You will learn why more features often means less signal, not more, and which techniques tame that complexity before modeling even starts.
Subscribe to Intelevo on YouTube so you do not miss it, and watch the full video walkthrough of this episode for the complete visual explanation alongside every code demo covered here.